WORD DOCUMENT EDITING
Change Document To Edit View
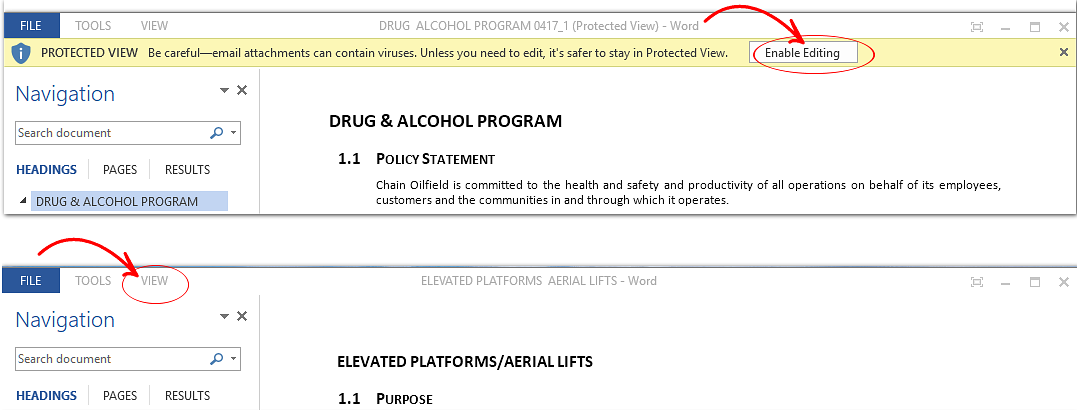
When you first receive your documents and open them up they will be in one of the views below which does not allow you to edit. To change this, follow the instructions below.- Click on the "Enable Editing" or
- If you don't see the yellow band - Click the "View Tab" at the top of document and choose "Edit Document" from the drop down
- Now your document should be editable and you can follow the rest of the instructions for editing .
Edit Header & Footer in Document
Open Header and Footer
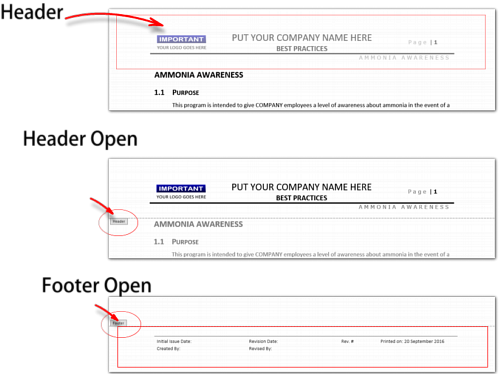
- Double click anywhere in header area to open it so you can work on it.
- Both header (top of page) and footer (bottom of page) will be opened so you can work on them both.
- When done just double click on body to close header & footer or click the close button in the top menu.
- You will know they are open as they will have a small tab open (see image)
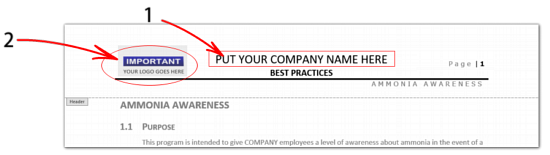
Entering Your Company Information into the Header and Footer
- Change this to your company's legal name. (the name that appears in WCB or ISN, etc.) If you are "operating as" you can enter "Your Company o/a The Name you are using". You can then use the common name throughout document. EG: 123456 AB Ltd o/a ABC Company - ABC Company can be used throughout rest of document.
- Delete the image and the writing in this section and add your logo (see instructions below to insert image)

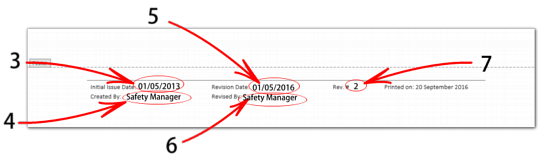
- This is the date the document is created
- Name the person or position of the person who is in charge of creating this document (Person in your company)
- If this is a revision of an original document enter the date the revision is completed
- Name the person or position of the person who revised this document
- How many times has this program been revised? Enter this number here.
- Once you have finished entering your information double click anywhere in main body of document to close header and footer.
Inserting Your Logo into the Header
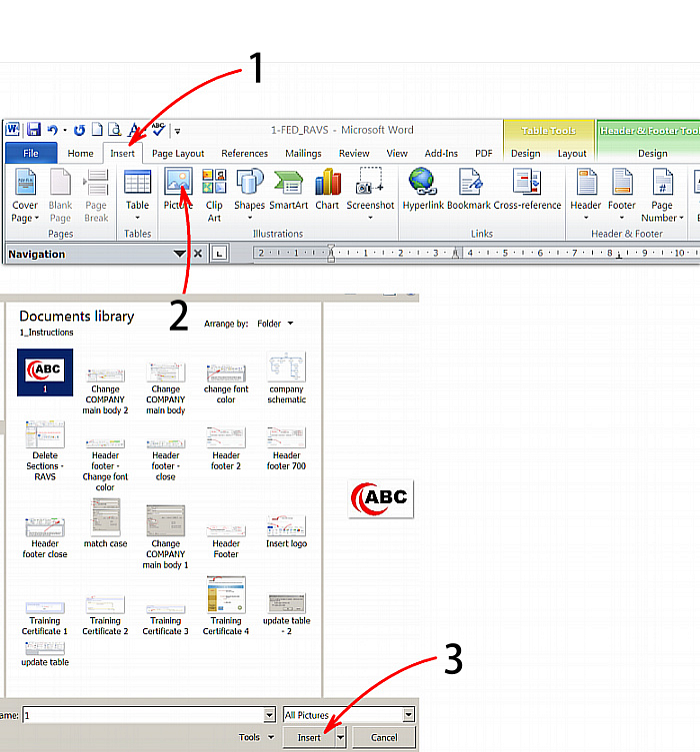
Delete words "YOUR LOGO GOES HERE" by dragging mouse over words and hitting delete on you keyboard. Delete image by clicking on it and hitting delete on your keyboard.- Click insert in top menu
- Click picture. A pop up window will appear. Find the picture from your files that you want to find for your logo
- Click insert
- Resize Logo image to fit in box - Click on picture to bring up guidelines then grab corner circle or button of picture (2 headed arrow will appear) click & drag corners or center buttons to resize to fit box.
Edit Body of Document
Change "COMPANY" to Your Company Name throughout Document
- Click on view
- Check "navigation pane'

- Write 'COMPANY' in capital letters in navigation pane search
- Click on 'Find' (right hand in top menu) - all "COMPANY" will be highlighted
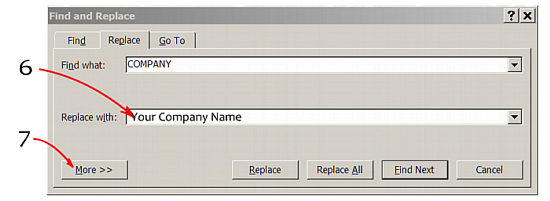
- Then click on 'Replace' in top menu which brings up the replace window

- Enter Your Company Name in the "Change to" Box. DO NOT put your company name in all capital letters.
- Click on the 'More' button ' it will open a section where you click on 'Match Case'

- Check Match Case. DO NOT FORGET THIS STEP - IT IS VERY IMPORTANT!!! Make sure you check the "match case" before you go on to step 9 or you will have your name in places you don't want it.
- Click Replace All


To Remove Highlighting (if any)
In updated programs we highlight the updates so you can see right away what is new. To remove this highlighting follow the instructions below:- Black out the highlighted area (click on the beginning of the area and dragging your mouse to the end of the highlighted area.
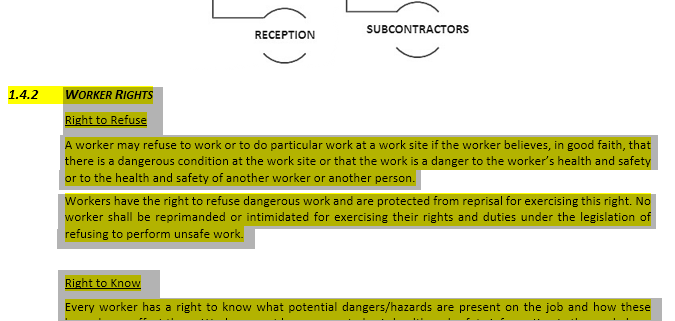
- Click on highlighting in menu in top ribbon to open up dropdown
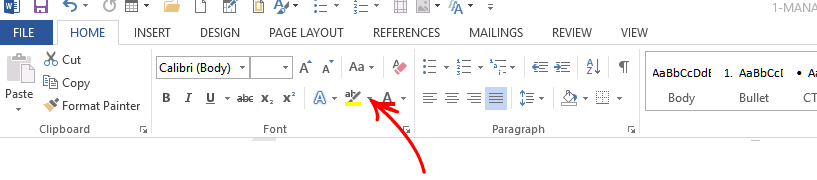
- Click on "No Color"

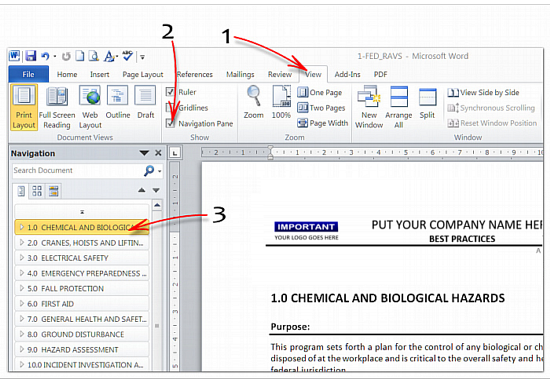
Delete Unwanted Sections (in Safety Program Templates)
- Click on view
- Check “navigation pane”
- In the navigation pane Right click on the section that you want to delete
- Choose “delete” from drop down menu. This deletes entire section.
- Once you are done deleting sections you don't want you must update your Table of Contents
Update Table Of Contents
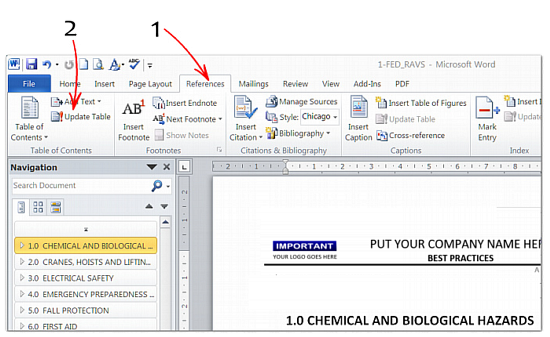
- Click on References
- Click on Update Table

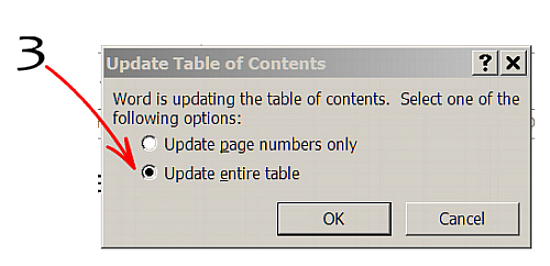
- Choose "update entire table" if you have added or deleted sections or headings you want to show up in Table. If you just deleted a page or updated content then choose "Page numbers only"

- Go through document’s “table of contents” to ensure all sections start on an odd page number. (if not then add a blank page to end of previous section and update table again.) This is so when you print - the sections can be separated in your binder easily and a section does not start on the back page of the previous section.